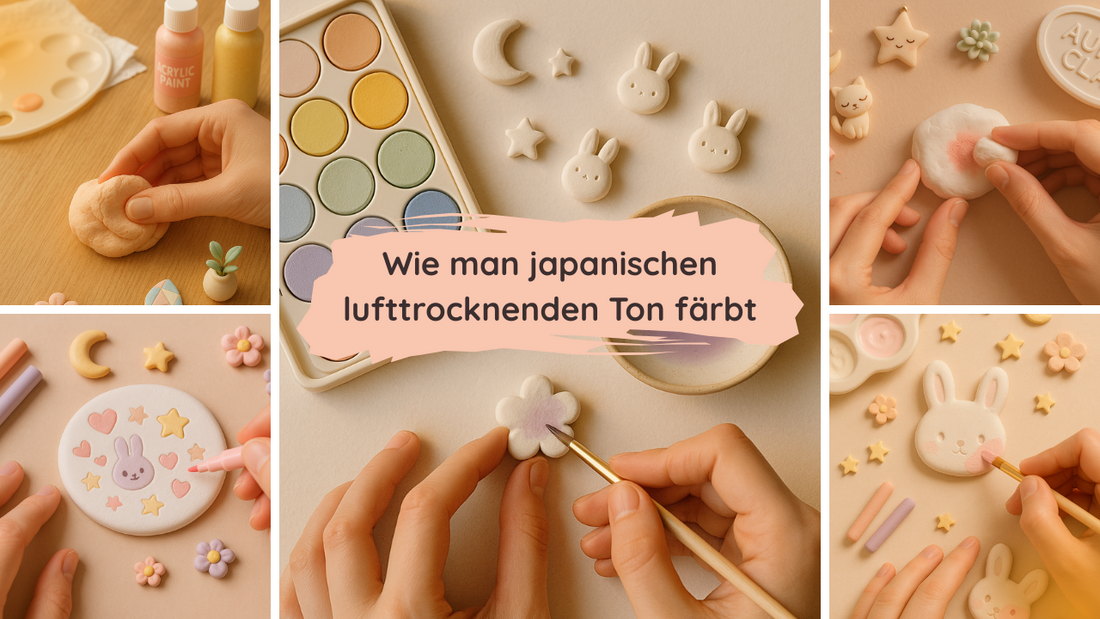
How to Color Japanese Air-Dry Clay: Techniques for Beginners
Japanese air-dry clay, like our high-quality clay at Aura Clay ® is a unique material for creative projects. Unlike Western clay based on ground rock sand (e.g., Jovi or DAS), our products are made from water and hollow resin spheres. Our Air Dry Foam Clay dries to an ultra-light, soft, and almost Styrofoam-like finish, comparable to Padico Hearty. Our Air Dry Resin Clay, on the other hand, becomes hard and smooth like glass or hard plastic, similar to Padico Modena. In this blog post, we'll show you simple techniques for coloring this Japanese clay—ideal for beginners! From acrylic paints to felt-tip pens to pastels and more, let's get started!
Why Color Japanese air-dry clay?
Coloring adds individuality to your projects, whether for jewelry, miniature figurines, decorations, or lampshades. The unique properties of Foam Clay (light, flexible) and Resin Clay (hard, smooth) require specific dyeing techniques, which we'll explain step by step. All methods are simple, safe, and perfect for beginners.
1. Acrylic paints: Bold colors for both clay types

Acrylic paints are ideal for coloring both Air Dry Foam Clay and Resin Clay because they adhere well and produce vibrant results.
- How it works : Apply acrylic paint to the dried clay with a brush. For foam clay (soft, porous), use a wide brush for even surfaces; for resin clay (smooth, hard), use a fine brush for details. Multiple coats increase the intensity.
- Advantages : Acrylic paints adhere excellently to the smooth surface of resin clay and penetrate well into the porous structure of foam clay. They are waterproof once dry and available in a wide range of colors.
- Tips for beginners :
- For Foam Clay: Dilute the paint slightly with water to facilitate even application, as the porous surface absorbs a lot of paint.
- For Resin Clay: Apply a thin coat of primer to reduce transparency if desired.
- Seal both with a clear acrylic varnish (matte or gloss) to protect the paint, especially with Foam Clay, which remains flexible.
- Test the paint on a small piece to check the coverage.
- Project idea : Paint a foam clay flower in pastel colors or a resin clay lampshade decoration with geometric patterns.
2. Felt-tip pens: Precise designs for detailed work

Felt-tip pens are perfect for precise designs, especially on smooth Resin Clay , but also on Foam Clay for simple patterns.
- How it works : Use waterproof permanent markers (e.g., Sharpie) on the dried clay. They glide effortlessly on resin clay for fine lines; they're suitable for accents on foam clay, as the porous surface requires thicker lines.
- Advantages : Felt-tip pens are easy to use, dry quickly, and often don't require sealing with resin clay. A fixative is recommended for foam clay, as the soft surface is more sensitive.
- Tips for beginners :
- For resin clay: Use fine tips for detailed patterns such as flowers or lettering.
- For Foam Clay: Choose thicker markers to compensate for the porous texture and work quickly, as the paint may sink in.
- A white acrylic layer as a primer enhances the colors on both clays.
- Project idea : Create resin clay pendants with delicate felt-tip pen patterns or decorated foam clay miniature cakes.
3. Pastels: Soft effects for soft looks

Pastels are particularly suitable for foam clay to create soft, powdery effects, but can also be used on resin clay .
- How it works : Rub pastels over sandpaper to create a powder, then apply it to the dried clay with a brush or your fingers. This is ideal for smooth blends on foam clay; on resin clay, it creates subtle accents.
- Advantages : Pastels create soft color gradients, perfect for Foam Clay's Styrofoam-like texture. They can add subtle shading to Resin Clay.
- Tips for beginners :
- Fix the chalk with hairspray or a fixative, especially with foam clay, as the soft surface can rub off.
- On resin clay: Less is more, as the smooth surface binds the chalk less.
- Work in a ventilated room because of the fine dust.
- Project idea : Decorate foam clay miniatures with pastels for a vintage look or add shading to resin clay flowers.
4. Coloring before drying: Mix colors directly into the clay

A popular method for both clays is to color them with acrylic or oil paints before shaping, as is common with Padico Hearty and Modena.
- How it works : Knead a few drops of acrylic or oil paint into the wet clay until the color is evenly distributed. Shape your project and let it dry (Foam Clay: 1–2 days, Resin Clay: 2–3 days).
- Advantages : The color is incorporated directly into the clay.
System: blended without affecting the consistency of the clay. Ideal for uniform colors without additional surface treatment.
- Tips for beginners :
- Use disposable gloves to avoid staining your hands.
- Add color sparingly, especially with Foam Clay, as too much color can make the texture muddy.
- Test the color mixture on a small piece of clay, as the colors may appear more intense with Foam Clay and slightly transparent with Resin Clay after drying.
- Project idea : Mix blue acrylic paint into foam clay for miniature macarons or red oil paint into resin clay for smooth, shiny beads.
5. Watercolors: Subtle tones for Foam Clay

Watercolors are a lesser-known but effective option, especially for the soft, porous Foam Clay .
- How it works : Mix watercolors into the wet foam clay for even coloring, or apply them to the dried clay with a brush. They're less suitable for resin clay, as the smooth surface absorbs the color less well.
- Advantages : Watercolors create soft, translucent tones that emphasize the light, Styrofoam-like texture of Foam Clay. They're easy to mix and ideal for pastel looks.
- Tips for beginners :
- Dilute watercolors heavily to avoid changing the consistency of the foam clay.
- Seal the dried foam clay with a clear varnish, as watercolors are not waterproof.
- For resin clay: Use it only for light accents, as the colors adhere less to the smooth surface.
- Project idea : Color Foam Clay with diluted watercolors to create delicate flower blossoms with a natural color gradient.
Tips for getting started
- Always test first : Try each technique on a small piece of clay, as foam clay and resin clay react differently to colors.
- Protect your work surface : Cover with newspaper or plastic wrap, especially for liquid paints.
- Storage : Wrap open clay (especially foam clay) tightly in plastic wrap and store it in an airtight bag with a damp paper towel to retain moisture. Store between 5–25°C, as both clays are resin-based.
- Clay quality : Our Japanese air-drying clays —Foam Clay and Resin Clay—are perfect for these techniques. Foam Clay is ultra-light and flexible, while Resin Clay dries hard and smooth.
- Inspiration : Check out Pinterest or Instagram for project ideas using our clay.
Conclusion
Japanese air-drying clay offers countless possibilities for expressing your creativity. You can customize Foam Clay (light, Styrofoam-like) or Resin Clay (hard, glass-like) with acrylic paints for bold colors, felt-tip pens for precise designs, pastels for soft effects, acrylic/oil paints for solid color, or watercolors for subtle tones. Try these techniques and discover your own style!
Ready to get started? Visit www.auraclayart.com to order our Japanese air-dry clay and share your creations on Instagram using #AuraclayChallenge! We look forward to seeing your creations.